目標
Lineからメッセージを入力して、受け取ったメッセージをRailsサーバに送信した後レスポンスをLineに返すというBOTを作って見たいと思います。
準備
LINE Developersアカウントは先に作成しておいて下さい。
LINE API側の設定
チャンネル作成
まずはMessaging API Channelを作成します。フォームに適当な情報を入力してチャンネルを作成して下さい。
チャンネル・公式アカウント設定
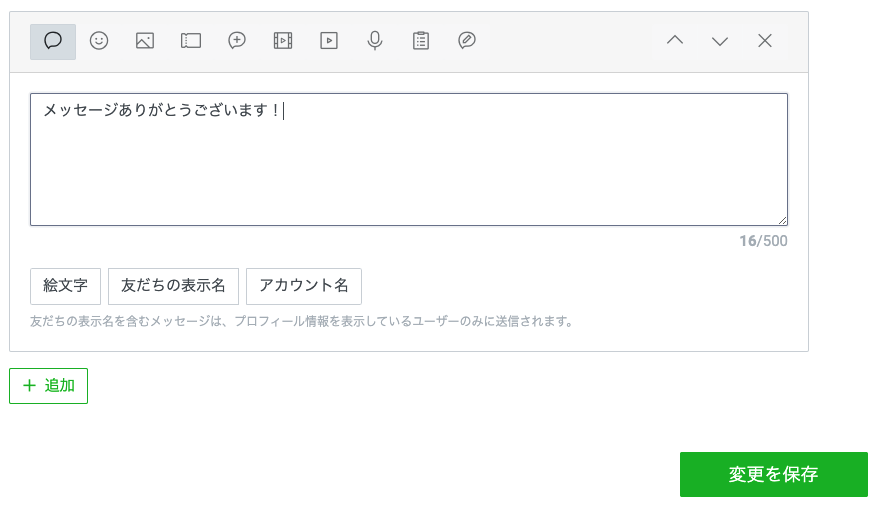
「LINE Official Account Manager」からチャンネル設定を行います。試しに「応答メッセージ」の設定から既存のメッセージ内容を変更して保存してみます。
(下図では元々あったメッセージの一部を削除しています)
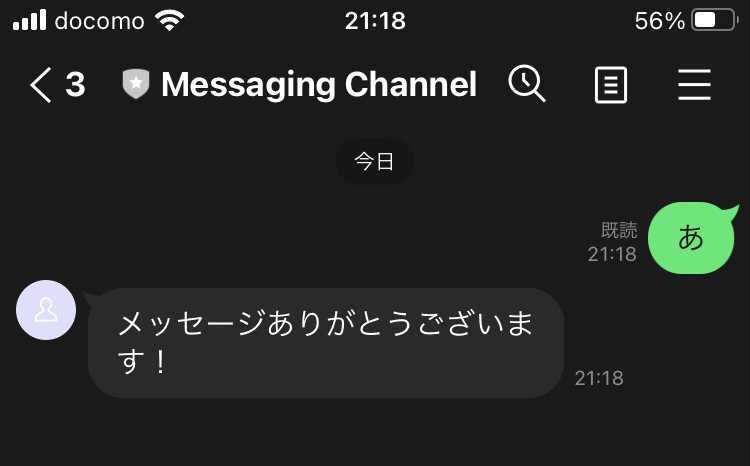
先程のチャンネル設定ページの「Messaging API」設定タブのQRコードから公式アカウントを追加します。トーク画面で何か入力するとメッセージが返ってくるかと思います。
LINE API側の設定は一旦ここまでにして次はRails側の環境構築を行います。
Ruby on Railsサーバ側の環境構築
まず以下のファイル群を作成します。
LineBot
├── docker-compose.yml
├── Gemfile
├── Gemfile.lock
├── Dockerfile
└── docker
    └── mysql
        └── my.cnf
docker-compose.yml
version: '3'
services:
  db:
    image: mysql:5.7.32
    volumes:
      - ./docker/mysql/my.cnf:/etc/my.cnf
      - db:/var/lib/mysql
    ports:
      - "3306:3306"
    environment:
      TZ: Japan
      MYSQL_ALLOW_EMPTY_PASSWORD: 1
      MYSQL_USER: root
      MYSQL_PASSWORD: ''
  web:
    build: .
    command: bundle exec rails s -p 3000 -b '0.0.0.0'
    volumes:
      - .:/myapp
    ports:
      - "3000:3000"
    depends_on:
      - db
volumes:
  db:
    driver: local
Dockerfile
FROM ruby:2.7.2
RUN apt-get update -qq && apt-get install -y build-essential libpq-dev nodejs
RUN mkdir /myapp
WORKDIR /myapp
ADD Gemfile /myapp/Gemfile
ADD Gemfile.lock /myapp/Gemfile.lock
RUN gem install bundler:2.1.4
RUN bundle install
ADD . /myapp
CMD rm -f tmp/pids/server.pid
Gemfile
source 'https://rubygems.org'

git_source(:github) do |repo_name|
  repo_name = "#{repo_name}/#{repo_name}" unless repo_name.include?("/")
  "https://github.com/#{repo_name}.git"
end


# Bundle edge Rails instead: gem 'rails', github: 'rails/rails'
gem 'rails', '~> 5.1.7'
# Use sqlite3 as the database for Active Record
gem 'sqlite3'
# Use Puma as the app server
gem 'puma', '~> 3.7'
# Use SCSS for stylesheets
gem 'sass-rails', '~> 5.0'
# Use Uglifier as compressor for JavaScript assets
gem 'uglifier', '>= 1.3.0'
# See https://github.com/rails/execjs#readme for more supported runtimes
# gem 'therubyracer', platforms: :ruby

# Use CoffeeScript for .coffee assets and views
gem 'coffee-rails', '~> 4.2'
# Turbolinks makes navigating your web application faster. Read more: https://github.com/turbolinks/turbolinks
gem 'turbolinks', '~> 5'
# Build JSON APIs with ease. Read more: https://github.com/rails/jbuilder
gem 'jbuilder', '~> 2.5'
# Use Redis adapter to run Action Cable in production
# gem 'redis', '~> 4.0'
# Use ActiveModel has_secure_password
# gem 'bcrypt', '~> 3.1.7'

# Use Capistrano for deployment
# gem 'capistrano-rails', group: :development
gem 'line-bot-api'

group :development, :test do
  # Call 'byebug' anywhere in the code to stop execution and get a debugger console
  gem 'byebug', platforms: [:mri, :mingw, :x64_mingw]
  # Adds support for Capybara system testing and selenium driver
  gem 'capybara', '>= 2.15'
  gem 'selenium-webdriver'
end

group :development do
  # Access an IRB console on exception pages or by using <%= console %> anywhere in the code.
  gem 'web-console', '>= 3.3.0'
  gem 'listen', '>= 3.0.5', '< 3.2'
  # Spring speeds up development by keeping your application running in the background. Read more: https://github.com/rails/spring
  gem 'spring'
  gem 'spring-watcher-listen', '~> 2.0.0'
end

# Windows does not include zoneinfo files, so bundle the tzinfo-data gem
gem 'tzinfo-data', platforms: [:mingw, :mswin, :x64_mingw, :jruby]
Gemfile.lock
※空ファイルで良いです。my.cnf
[mysqld]
character-set-server=utf8mb4
innodb_large_prefix

[mysql]
default-character-set=utf8mb4

[mysqldump]
default-character-set=utf8mb4

[mysqld_safe]

[client]
default-character-set=utf8mb4各ファイルを作成したら下記コマンドを実行します。bundle installが実行されてGemfile.lockが書き換わります。
$ docker-compose up -d次に下記コマンドを実行します。途中Gemfileを上書きするかを聞かれたらNoと回答します。
$ docker-compose run --rm web rails new .http://localhost:3000にアクセスしてWelcomeページが返ってくれば問題ありません。
※ちなみにDockerの公式HPにあるクイックスタートの設定はそのままだと動作しなかった記憶があります。
Ruby on Railsサーバ側の設定
routes.rb
Rails.application.routes.draw do
  get 'linebot/collback'
  post '/callback' => 'linebot#callback'

  # For details on the DSL available within this file, see http://guides.rubyonrails.org/routing.html
end
linebot_controller.rb
class LinebotController < ApplicationController
  require 'line/bot'

  skip_before_action :verify_authenticity_token

  def callback
    body = request.body.read
    signature = request.env['HTTP_X_LINE_SIGNATURE']
    unless client.validate_signature(body, signature)
      error 400 do 'Bad Request' end
    end
    events = client.parse_events_from(body)

    events.each do |event|
      case event
      when Line::Bot::Event::Message
        case event.type
        when Line::Bot::Event::MessageType::Text
          message = {
            type: 'text',
            text: event.message['text']
          }
        end
      end
      client.reply_message(event['replyToken'], message)
    end
    head :ok
  end

  private

  def client
    @client ||= Line::Bot::Client.new { |config|
      config.channel_secret = 'xxxxxxxxxxxxxx' #シークレットキー
      config.channel_token = 'xxxxxxxxxxxxxx' #アクセストークン
    }
  end
end
34~35行目にはそれぞれLINE API設定画面の「Basic settings」からシークレットキーを、「Messaging API」からアクセストークンを取得・発行したものを入力します。
Ngrokで公開
この後LINE APIにRailsサーバのURLをWebhookとして登録する必要があるのですが、httpsでないと登録が出来ません。そのため本来であれば固定IPを持つホストにてRailsサーバを実装して証明書を発行・登録しないといけないのですが、今回はngrokで代用してしまいます。
ngrokというものはローカルホストを外部からアクセス可能にするツールです。またhttpsでのアクセスが可能です。ngrokをインストールしたら下記コマンドを実行して下さい。
$ ./ngrok http 3000URLが生成されたら控えておいて下さい。
LINE API側のWebhook設定
「Messaging API」のWebhook設定項目で先程取得したURLを入力して下さい。ただしURLの後ろには/callbackというパスを付けて下さい。
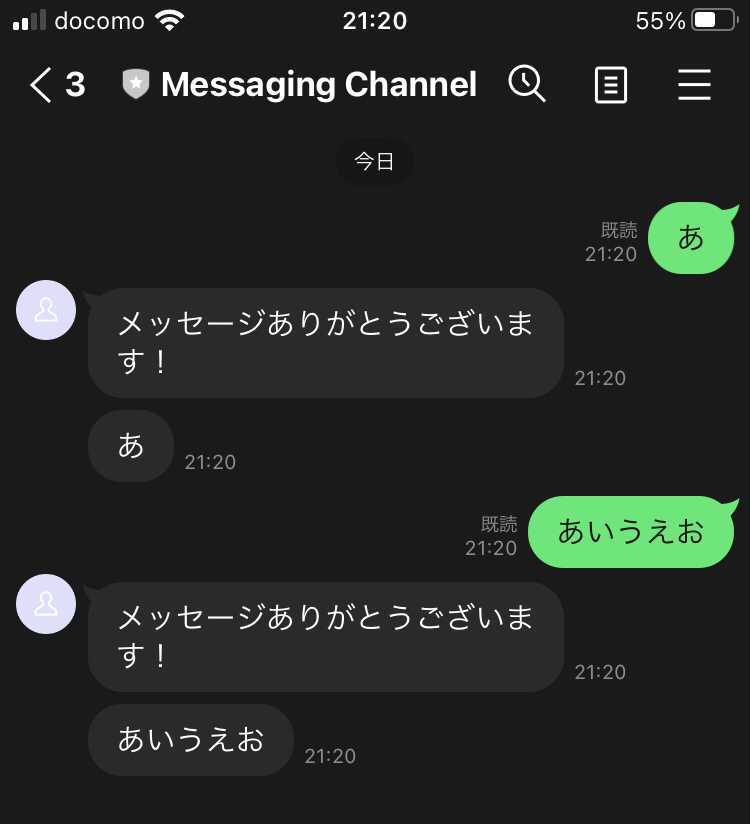
「Verify」を実行して200ステータスが帰れば設定は完了です。LINEで公式アカウントを追加し直してメッセージを入力してみて下さい。Railsサーバからオウム返しでメッセージが送られる筈です。
以上です。
終わりに
今回のオウム返しBOTには何の意味もありませんが、LINE APIとRilsが連携出来さえすれば色々なサービスが実装出来る筈です。LINE APIも豊富な種類があり、様々な統計データが取得可能なようなので活用出来るかも知れません。