はじめに
Rubyはオブジェクト指向型のスクリプト言語。Webアプリケーションを作るのによく用いられる。Railsというのはフレームワークで、開発をスムーズに行う環境のこと。今回はCentOS7上にRuby on Railsをインストールする手順をまとめます。多くの人が既にまとめていますが、rootユーザで実行した場合PATHの追加場所が若干変わったりしますので、捕捉となっています。
rbenvインストール
一般的な方法でビルドに必要なパッケージをインストールする。
yum -y update
yum install -y git
yum install -y bzip2 gcc openssl-devel readline-devel zlib-devel make
rbenvをインストールする際クローン場所に注意する。
rootユーザで実行すると/root/.rbenv/, /root/.rbenv/plugins/配下に置かれる
git clone https://github.com/rbenv/rbenv.git ~/.rbenv
git clone git://github.com/sstephenson/ruby-build.git ~/.rbenv/plugins/ruby-build
パスを通す。rootユーザで構築している人はこの作業をしないと正しくパスが通りません。一般ユーザの人でもパスを読み替えて実行します。
# vi /root/.bashrc
export PATH="$PATH:/root/.rbenv/bin"
eval "$(rbenv init -)"
# pwd
/root
# source .bashrc
# rbenv -v
パスが通っていればバージョンが表示される
Rubyインストール
インストール可能なバージョンを確認
rbenv install --list
rbenv install 2.7.1
インストールしたバージョンをrbenvに指定
rbenv global 2.7.1
バージョン確認
# ruby -v
ruby 2.7.1p83 (2020-03-31 revision a0c7c23c9c) [x86_64-linux]
Railsインストール
gem install bundler
インストール可能なバージョンを確認
gem query -ra -n  "^rails$"

1.【バージョンを指定する場合】
# mkdir rails_v6.0.3.1
# cd rails_v6.0.3.1
カレントディレクトリにGemfileを作成
# bundle init
# echo 'gem "rails", "6.0.3.1"' >> Gemfile
./vendor/bundleにRails関連のGemを入れる
# bundle install --path vendor/bundle

2.【バージョンを気にしない場合】
mkdir rails_work
cd rails_work
bundle init
gem install rails
※bundle installは後でします。別に今でも良いですけど。

【共通】
1.railsの起動にsasscが要るらしい.sasscのインストールにはg++が要るらしい.
yum -y install gcc-c++
gem install sassc -v 2.4.0
2.yarnをインストールするのにnode.jsが必要らしい
yum -y install epel-release
curl -sL https://rpm.nodesource.com/setup_14.x | bash -
yum -y install nodejs
3.yarnをインストール
npm install -g yarn
4.webpackerをインストール ← プロジェクト作ってbundle installした後かも
rails webpacker:install
MySQLを使う
標準のmariadbを削除する
# sudo yum remove mariadb-libs
# sudo rm -rf /var/lib/mysql
MySQLをインストール
# yum install https://dev.mysql.com/get/mysql80-community-release-el7-2.noarch.rpm
何かパッケージを追加
yum -y install mysql-community-server
railsとmysqlを繋ぐmysql2をインストールするのに必要なもの
yum install -y mysql-devel
Railsプロジェクト作成
プロジェクト作成。「bundle install」は後で、データベースはmysqlを指定
rails new labo --database=mysql --skip-bundle --skip-test --skip-active-storage
cd labo
bundle install
※上のコマンドを実行する前に後述のGemfileを確認する
データベースを作成する
rails db:create--skip-bundleを付与するとbundle installを行わない。標準ではRubyにGemがインストールされます。Node.jsで言うところのnpm installかと思われます。
Node.jsに慣れた自分にはRailsの環境構築がこんなに大変だとは思いませんでした。
今回使用するGemfileは以下の通りです。
$ cat Gemfile
source 'https://rubygems.org'
git_source(:github) { |repo| "https://github.com/#{repo}.git" }

ruby '2.7.1'

# Bundle edge Rails instead: gem 'rails', github: 'rails/rails'
gem 'rails', '~> 6.0.3', '>= 6.0.3.2'
# Use mysql as the database for Active Record
gem 'mysql2', '>= 0.4.4'
# Use Puma as the app server
gem 'puma', '~> 4.1'
# Use SCSS for stylesheets
gem 'sass-rails', '>= 6'
# Transpile app-like JavaScript. Read more: https://github.com/rails/webpacker
gem 'webpacker', '~> 4.0'
# Turbolinks makes navigating your web application faster. Read more: https://github.com/turbolinks/turbolinks
gem 'turbolinks', '~> 5'
# Build JSON APIs with ease. Read more: https://github.com/rails/jbuilder
gem 'jbuilder', '~> 2.7'
# Use Redis adapter to run Action Cable in production
# gem 'redis', '~> 4.0'
# Use Active Model has_secure_password
# gem 'bcrypt', '~> 3.1.7'

# Reduces boot times through caching; required in config/boot.rb
gem 'bootsnap', '>= 1.4.2', require: false

group :development, :test do
  # Call 'byebug' anywhere in the code to stop execution and get a debugger console
  gem 'byebug', platforms: [:mri, :mingw, :x64_mingw]
end

group :development do
  # Access an interactive console on exception pages or by calling 'console' anywhere in the code.
  gem 'web-console', '>= 3.3.0'
  gem 'listen', '~> 3.2'
  # Spring speeds up development by keeping your application running in the background. Read more: https://github.com/rails/spring
  gem 'spring'
  gem 'spring-watcher-listen', '~> 2.0.0'
end

# Windows does not include zoneinfo files, so bundle the tzinfo-data gem
gem 'tzinfo-data', platforms: [:mingw, :mswin, :x64_mingw, :jruby]
起動
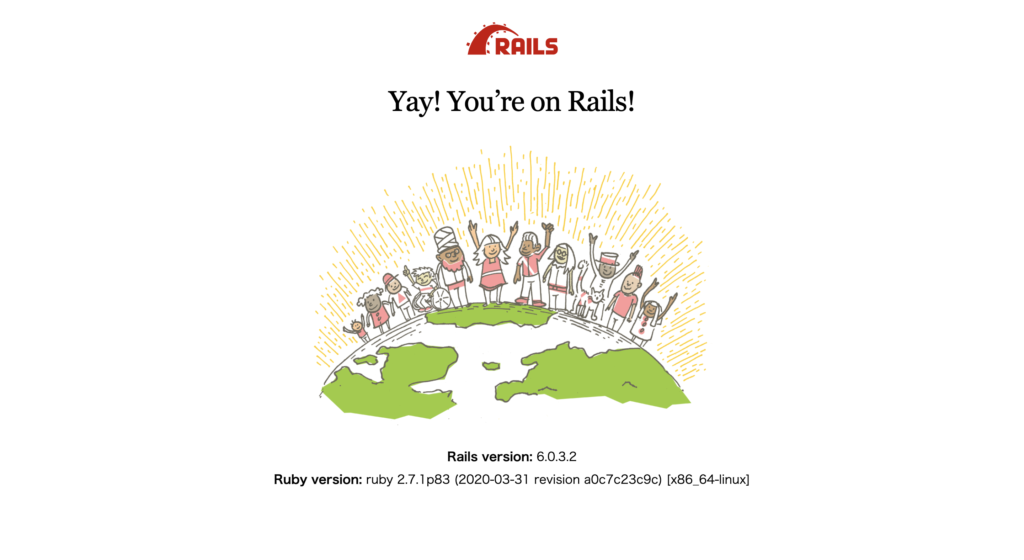
FW(標準だと3000)も解放したらサーバを起動してみます。-bでアドレスを指定します。グローバルIPなので0.0.0.0を指定しています。dオプションはバックグラウンドジョブ指定です。
# rails server -b 0.0.0.0 dMySQLログインパスワード
ログインパスワードの設定を行う必要があります。初回のログインパスワードは通常通りログファイルを確認します。
$ less /var/log/mysqld.log
$ mysql -u root
> ALTER USER tora@localhost IDENTIFIED BY 'Password@1234';
$ systemctl restart mysqld
$ rails server -b 0.0.0.0